 Sep
20
AF Nexus Pro
- September 20, 2021
- 0 Comment(s)
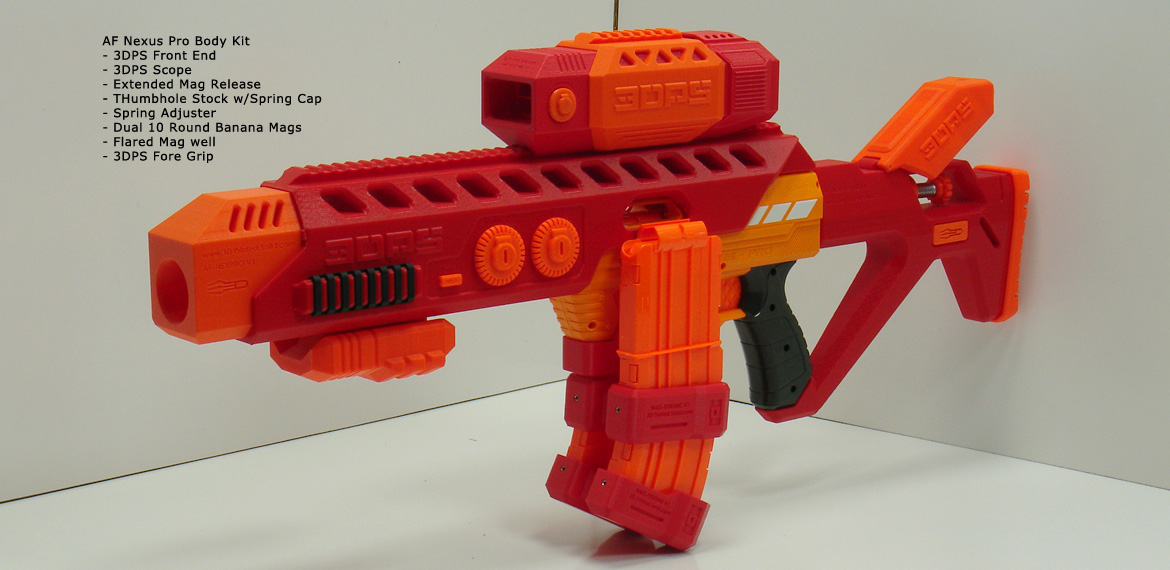
The Adventure Force Nexus Pro is quickly becoming one of most popular spring blasters of recent times. It affordable price and ease of modification plays right into the hand of the hard core nerfer. We took it a step further with a body kit from 3DPS. Our body kit gives the Nexus a more futuristic look with very little effort on your part. The front end installs in seconds, just slide it on and tighten up a few locking screws. The gun is 31.25″ (79.37cm) in length, 14.5″ (36.83cm) high, and 4″(10.16cm) wide. The weight as shown is just under 5lbs (2.26 kg). Check out all of the color options to choose from:

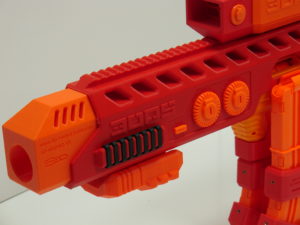
There are two shorter Picatinny rails (one on each side) for flashlight/laser mounting and one long rail running almost all the way along the top of the body of the gun for mounting any type of iron sights, or scope you so choose. The rails are protected in front with cover incase your not using them and also some simulated dials on the sides for a realistic approach.
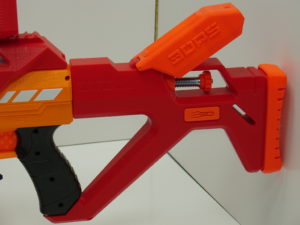
We also designed a thumbhole stock with lots of features, like: strap attachment point, removable butt pad for further up grades, strong two point connection to the body and on top of that, a cover which can be opened to access our spring adjuster. The spring adjuster allows the operator to adjust the fps of the darts with just the twist of a screw. You can either release or add pre-compression to the spring. However, there are limits on the adjuster due to the gun design and spring itself. We have reached a low of 125 fps and nearly up to 200 fps in testing. So still a practical way of moding your weapon with a simple turn of a screw. This is the same design as the spring adjuster for the Nexus Pro. So if you have both guns and want to switch, its not a problem. This video describes how to install the spring adjuster and how to use it: https://www.youtube.com/watch?v=yuTZwybh3R4&t=642s
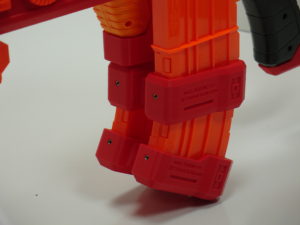
Similar to our Nexus Pro gun kit we design a fore grip and have the same 10 round banana mags with our couplers and bumper on the magazines.
You can watch a video of the Installation/Introduction guide on our You Tube page. Or click here:https://www.youtube.com/watch?v=wSjtEeqxPAQ&t=408s
